
I have always been fond of the latest and best instruments. I bought my Kurzweil K2500S (with sampling option) in 1997 soon after it was introduced in the shops here in Finland and got great reviews. Then it was priced 5000 Euros (direct conversion from the Finnish currency at the time). It is sad to see that you can get an used one for less than a thousand today. But as it is mostly a digital computer, the fast technology development cause the prices of old technology to drop fast. Vintage analog instruments are completely different.
I have been using an external 1GB SCSI hard drive with my K2500 to store data. I'm still using the K2500 and external hard drive in my studio 20 years later. Recently I started to get worried that the hard drive might eventually fail. This led to this update project. I found that an SD card could be used to store the data by using an SCSI hard drive emulator. The SCSI2SD is an open-source project providing the firmware and utilities. The needed hardware circuit board I bought from Amiga-Kit. (not including cables and SD card, which I already had in my junk box).
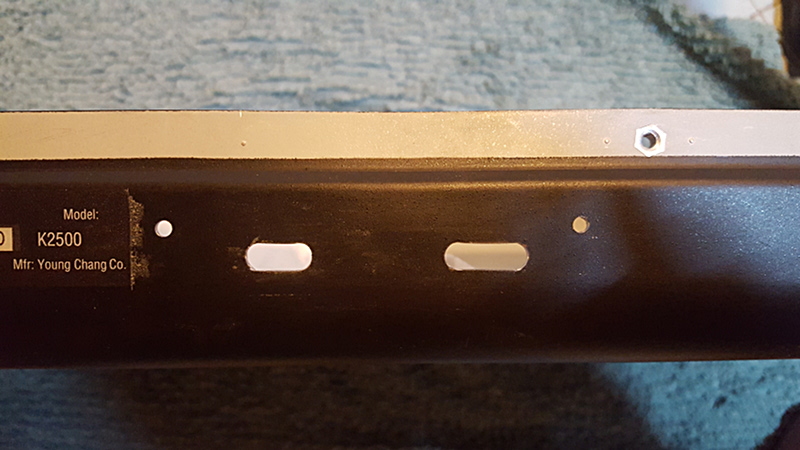
You possibly could build some kind of external setup for the SCSI2SD adapter but I wanted to put it inside my K2500S. Opening the keyboard requires a lot of screws to be removed. I decided to put the SCSI2SD at the rear behind the battery box. Probably there is rarely need to access the SD card and USB port of the SCSI2SD but I wanted to have access to them without screwing the synth open again. So I made holes in the back side.
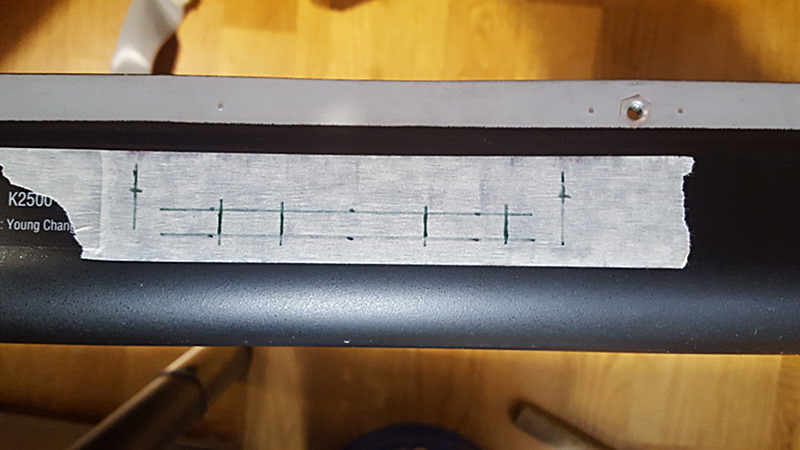
I first marked the location of the holes.
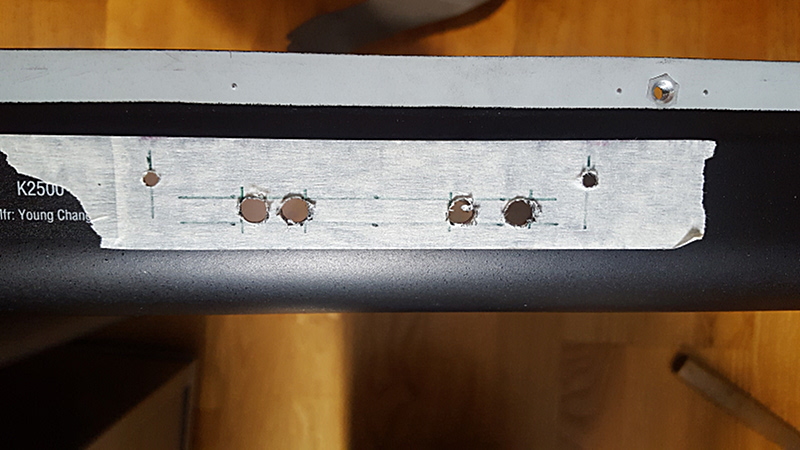
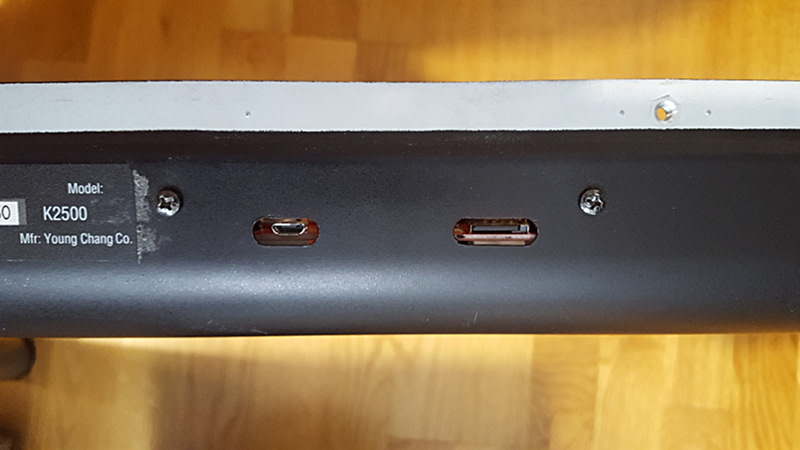
Then I drilled 3.5mm and 6mm holes.
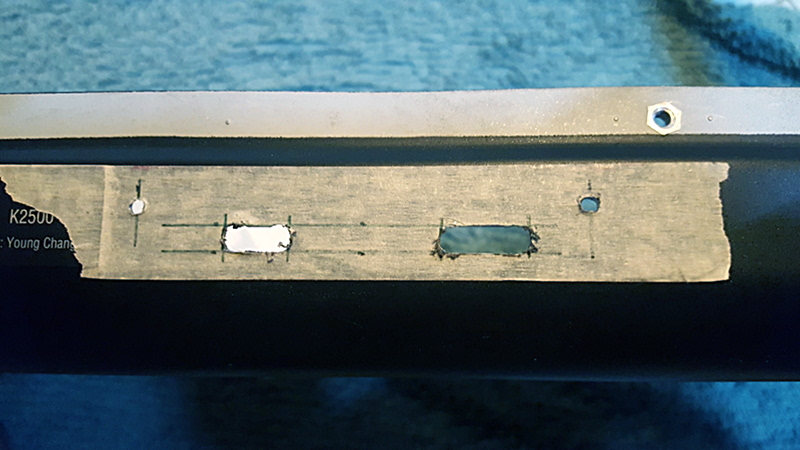
With a multitool I cut the square holes open.
Finishing with a file.
Then screwing the SCSI2SD into place.
Access to SD card and Micro USB port is easy although they do not protrude outside the casing.
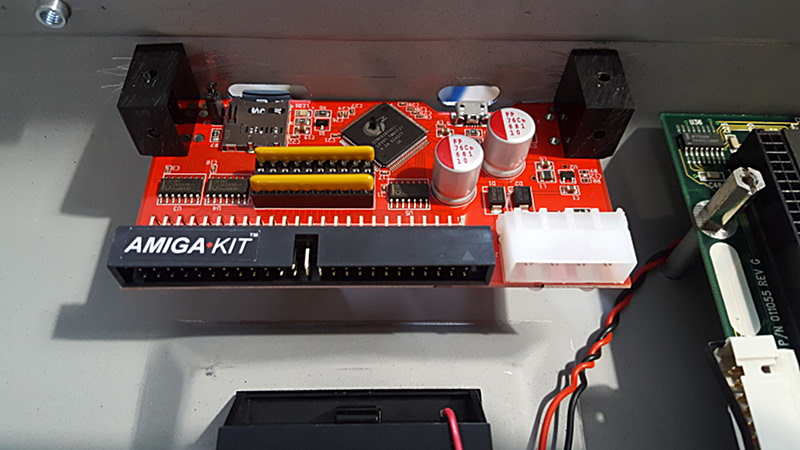
I made two plastic mechanical parts with 3mm threads to be able to screw the SCSI2SD to the back of the chassis.
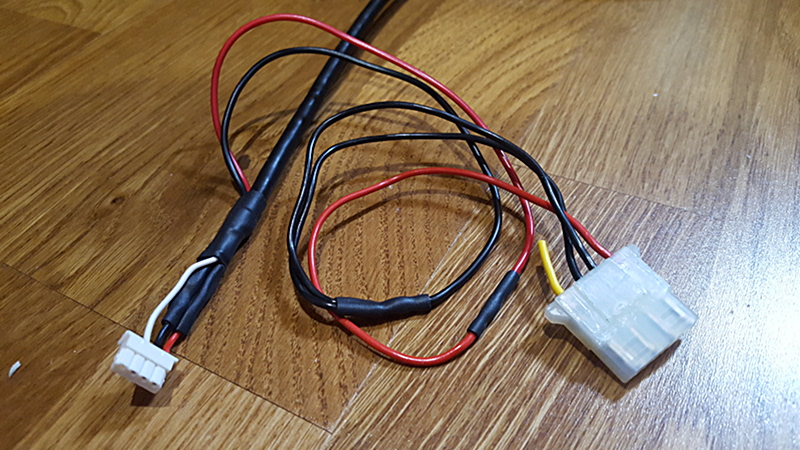
To power the SCSI2SD I soldered a leach extension cable to the floppy disk power cable. Only +5V power is connected (the red wire) and the black ground wires, of course.
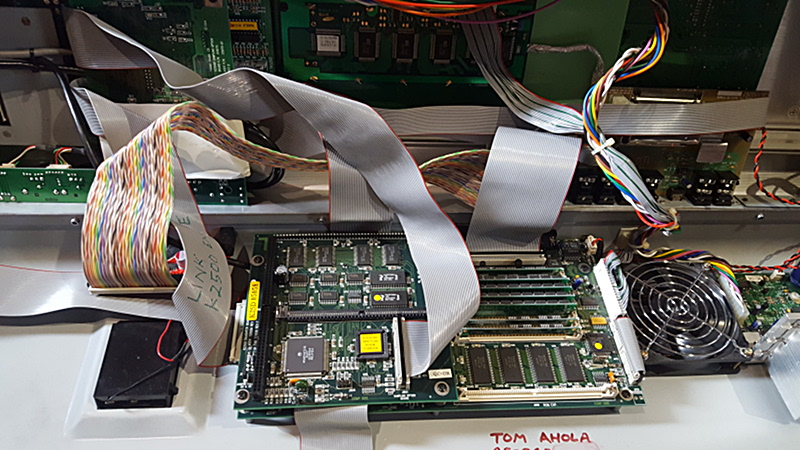
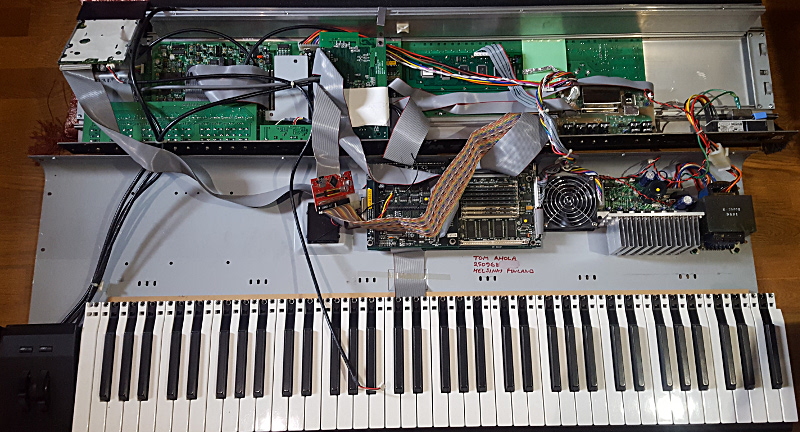
I had some suitable high quality (twisted pair) rainbow coloured ribbon cable and 50-pin IDC connector and made an SCSI cable. The pin 1 of both end of the cable must be carefully matched to the circuit boards. The SCSI2SD ribbon cable goes to the empty SCSI header intended for an internal SCSI drive. It is found on the topside unit. The floppy power connection is from the engine board, in the corner close to the fan.
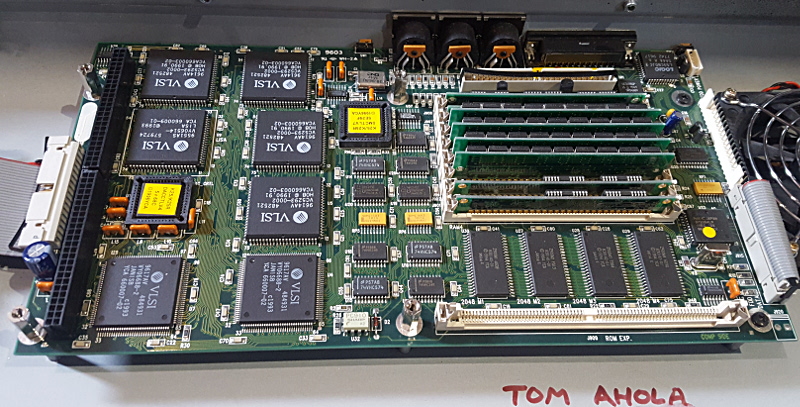
Here is a rare view of the the engine board. The powerful FPGA chips doing all the digital synthesis are here in view. Normally they are covered by the sampling option board. Floppy power connector is in top right corner,
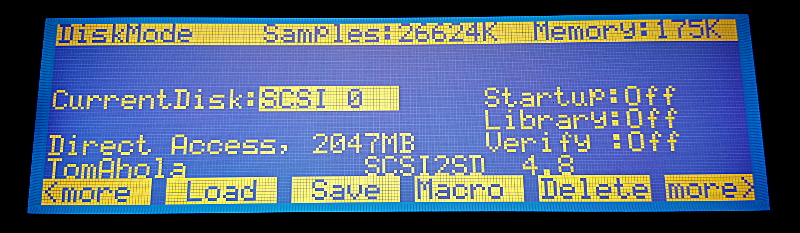
The firmware in the SCSI2SD was already the latest version, so I did not need to update. Firmware and settings can be flashed via the USB connector using a tool that is available from the SCSI2SD project. Default setting are for SCSI ID 0 and one 2GB partition. I tried with a 2GB SD card I had laying around. However, that did not work. K2500 found the drive randomly sometimes but could not format or access the disk. I tried another 8 GB SDHC card (Class 4). That worked! I tweaked the settings by enabling SCSI2 support and split the card up to 4 devices (SCSI 0, 1 ,2 ,3). I copied data from the SCSI hard drive (Set to ID 4) to the SD Card (SCSI ID 0). There was no significant increase in loading speed when changing from the hard drive to the SD card. However, I trust my setup will be more reliable now that I can easily make backup copies of my SD card and swap in a new one if one fails.
